What are the Best Photography Tips and tricks
What are the Best Photography Tips and tricks?
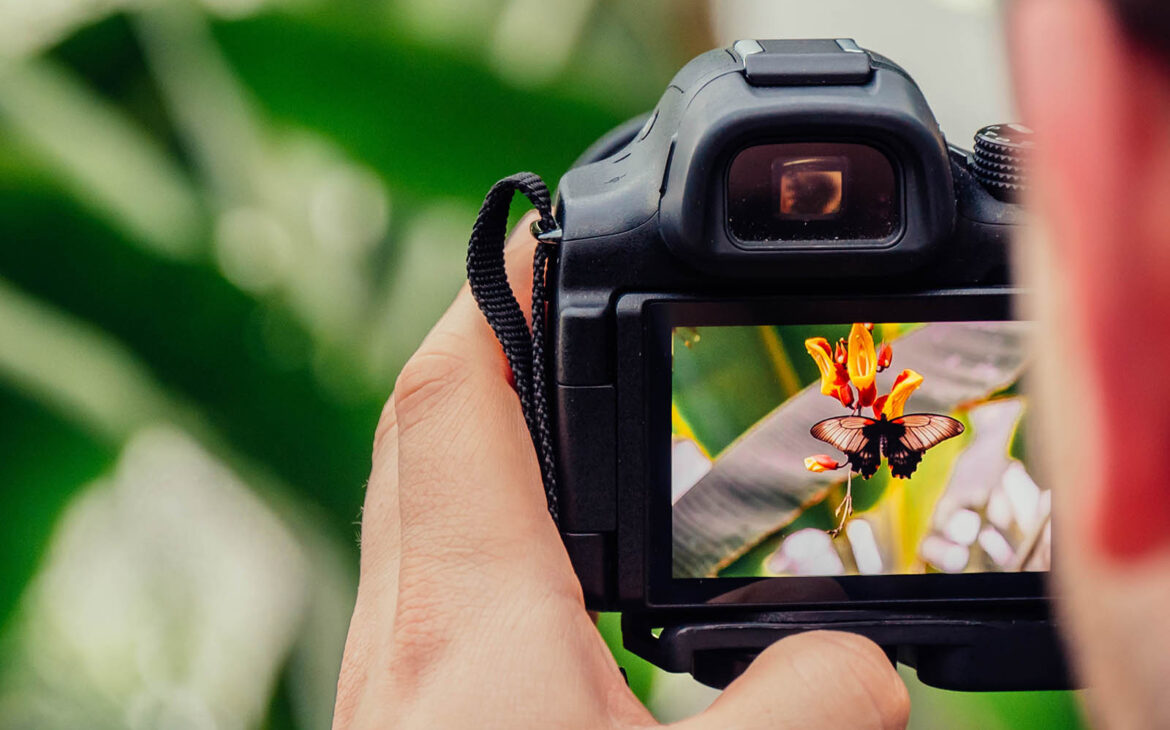
Photography is a beautiful art form that allows us to capture and preserve moments, memories, and the world around us. Whether you’re a beginner or an experienced photographer, there’s always room to improve your skills and discover new techniques. In this article, we will explore the best photography tips and tricks that can take your photos to the next level. From understanding the fundamentals of photography to mastering composition, lighting, and post-processing, we will delve into various aspects of photography to help you enhance your craft and create stunning images. So grab your camera, get ready to explore, and let’s dive into the world of photography tips and tricks. From composition techniques to lighting hacks, unlock the secrets to taking breathtaking photographs.
1. Understanding the Basics of Photography
Aperture, Shutter Speed, and ISO: The Exposure Triangle
Photography has its own little Bermuda Triangle called the exposure triangle, which consists of aperture, shutter speed, and ISO. Think of them as the three musketeers of exposure. Aperture controls how much light enters your camera, shutter speed determines how long the sensor is exposed to light, and ISO controls the camera’s sensitivity to light. Understanding how these three settings work together is the key to achieving well-exposed photos.
Camera Modes: Understanding Auto, Manual, and Semi-Manual Modes
Ah, camera modes, the doorways to photographic freedom. Auto mode is like having your camera do all the work for you, but where’s the fun in that? Manual mode gives you complete control, allowing you to adjust all the settings yourself. If you’re not quite ready to take the plunge into full manual mode, semi-manual modes like aperture priority and shutter priority can be a happy middle ground. They let you control one setting while the camera takes care of the rest.
Focusing Techniques for Sharp Images
When it comes to photography, sharpness is the name of the game. Nobody wants a blurry photo (unless you’re going for avant-garde, in which case, carry on). To ensure your images are tack sharp, you need to master focusing techniques. Autofocus is great most of the time, but in tricky situations, manual focus can be your best friend. Don’t forget to also consider the depth of field and where you want to place the focus point to make your subject pop.
2. Mastering Composition Techniques
Rule of Thirds: Balancing Your Subjects
Forget about the rule of thumb; it’s all about the rule of thirds! This composition technique divides your frame into a tic-tac-toe grid, where you place your subject along the intersecting lines or at the points of intersection. By doing so, you create a visually appealing balance and draw the viewer’s attention to the most important parts of your photo. It’s a simple trick that can instantly level up your composition game.
Leading Lines: Creating Depth and Visual Interest
Imagine your photo is a visual journey, and the leading lines are the yellow brick road. These lines draw the viewer’s eye into the image, adding depth and visual interest. They can be anything from a road or a path to a row of trees or a winding river. By strategically using leading lines, you can guide the viewer’s gaze and create a more engaging composition.
Framing: Using Elements to Enhance the Subject
Who needs a fancy picture frame when you can use the elements around you to frame your subject? Framing is a compositional technique that involves using objects in the scene to create a visual frame around your subject. It can be a window, a doorway, an arch, or even branches of a tree. By doing this, you add depth, context, and a unique touch to your photos. Plus, it’s a fun way to get creative and show off your surroundings.

3. Choosing the Right Equipment and Gear
Selecting the Right Camera for Your Needs
Choosing the right camera is like picking a life partner, except it won’t hog the blanket or eat the last piece of pizza. When selecting a camera, consider your needs and budget. Are you a casual shooter, an aspiring pro, or somewhere in between? Do you need something compact for travel or a beast for professional gigs? Research read reviews, and try out different models to find the one that feels like a match made in photography heaven.
Understanding Different Types of Lenses
Lenses are the secret sauce that gives your photos a distinct flavor. Wide-angle lenses are great for capturing sweeping landscapes, while telephoto lenses zoom in on the action and bring distant subjects closer. Prime lenses have a fixed focal length and are known for their sharpness, while zoom lenses offer versatility with variable focal lengths. Each type has its strengths and weaknesses, so experiment and find the lenses that suit your shooting style and subjects.
Essential Accessories for Professional Results
Accessories are the cherry on top of your photography sundae. They can enhance your creativity, improve image quality, and make your life easier. Tripods and filters are must-haves for landscape photographers, while external flashes and light modifiers come in handy for portrait enthusiasts. Don’t forget about memory cards, extra batteries, and a good camera bag to keep everything organized and protected. Choose wisely, and your accessories will be your trusty sidekicks.
4. Lighting and Exposure Tips for Stunning Shots
Natural Light Photography: Utilizing Sunlight
Ah, natural light, is the oldest and most eco-friendly lighting source. Whether you’re shooting portraits or landscapes, understanding how to make the most of natural light is essential. The golden hour, when the sun is low and the light is warm, is a favorite among photographers. But don’t shy away from cloudy days or shooting in the shade, as they can create soft and diffused light. Just be aware of the harsh midday sun that can cast unflattering shadows.
Artificial Lighting: Working with Flash and Continuous Lighting
When natural light isn’t enough to get the job done, it’s time to bring in the artificial lighting troops. Flash photography can be intimidating, but with a little practice, you can master it. Experiment with different techniques like bouncing the light off walls or ceilings to create a softer, more flattering light. Continuous lighting, such as LED panels or studio lights, is great for controlling and shaping light in a controlled environment. Embrace artificial lighting, and you’ll open up a whole new world of creative possibilities.
Controlling Exposure: Metering and Exposure Compensation
Exposure can make or break a photo, so it’s crucial to know how to control it. Metering is your camera’s way of measuring the light in a scene to determine the optimal exposure. It’s like a trusty light meter but built right into your camera. However, your camera doesn’t always get it right, especially in tricky lighting situations. It allows you to manually adjust the exposure to make your photo brighter or darker. So, don’t be afraid to take control and give your photos the exposure they deserve.
5. Creative Approaches and Experimentation
When it comes to photography, it’s not just about capturing what’s right in front of you. It’s about pushing boundaries, trying new things, and thinking outside the box. In this section, we’ll explore some creative approaches and experimentation techniques that will take your photos to new heights.
Long Exposure Photography: Capturing Motion
Long-exposure photography is like wielding a magical wand that transforms ordinary scenes into mesmerizing works of art. By using longer shutter speeds, you can capture motion in a way that the naked eye can’t see. Imagine silky smooth waterfalls, dreamy light trails, and clouds that streak across the sky. Long-exposure photography allows you to freeze time and create images that evoke a sense of awe and wonder.
Double Exposure and Multiple Exposures: Creating Artistic Effects
If you’re feeling adventurous, why not try your hand at double exposure and multiple exposures? This technique involves overlaying two or more images onto each other to create a unique and artistic effect. It’s like combining different worlds into one frame. You can experiment with blending portraits with landscapes, or even merge colors and textures to create something entirely new.
Creative Use of Color and Contrast
Colors and contrast can make or break a photograph. By understanding how to use them effectively, you can create images that pop off the screen or page. Experiment with vibrant, bold colors to evoke emotions, or try playing with contrasting elements to add drama and depth to your photos. Photography is an art form, after all, and what better way to express yourself than through color and contrast?

6. Post-Processing Techniques for Polished Results
To truly make it shine, you’ll need to give it a little TLC in the post-processing stage. Don’t worry, you don’t need to be a Photoshop guru to achieve polished results. In this section, we’ll explore some basic post-processing techniques that will help you take your photos from good to great.
Introduction to Photo Editing Software
Photo editing software is like a magic wand for photographers. It allows you to fine-tune your images, adjust colors, and enhance details. There are plenty of options out there, from beginner-friendly programs to more advanced software. Find one that suits your needs and get ready to unleash your creativity.
Understanding Basic Editing Tools and Techniques
Once you have your chosen editing software, it’s time to dive in and learn the basics. Familiarize yourself with tools like cropping, adjusting exposure, and sharpening. These simple techniques can make a world of difference in your photos and help you achieve that polished look.
Enhancing Colors, Contrast, and Sharpness
Now that you know the basics, it’s time to take your editing skills to the next level. Experiment with enhancing colors to make them more vibrant, play with contrast to add depth to your images and sharpen details to make your photos pop. Remember, editing should enhance your photos, not overpower them. So, don’t be afraid to make subtle adjustments, and trust your creative instincts.
7. Tips for Capturing Portraits and People
While landscapes and nature have their charm, capturing portraits and people can be equally rewarding. In this section, we’ll explore some tips and techniques that will help you create stunning portraits and candid shots that truly capture the essence of your subjects.
Posing Techniques and Directing Your Subject
Posing people for portraits can be a challenging task, especially if your subject isn’t a model. But fear not, as with a few simple tricks, you can make anyone look like a natural in front of the camera. Try directing your subject with gentle cues and prompts, and encourage them to relax and be themselves. The key is to capture genuine emotions and expressions, so don’t be afraid to get a little creative with your poses.
Working with Natural and Artificial Lighting for Portraits
Lighting is the magic ingredient that can make or break a portrait. Natural light can create soft and flattering tones, while artificial lighting allows for more control and creative possibilities. Experiment with both and learn how to position your subject about the light source. Play with shadows and highlights to add depth and create mood in your portraits. Remember, lighting is your ally, so don’t be afraid to embrace it.
Candid Photography: Capturing Genuine Moments
Sometimes the best moments are the ones that happen naturally, without any posing or direction. Candid photography is all about capturing genuine emotions and unguarded moments. Keep your camera at the ready and be prepared to snap away when those precious moments unfold. Whether it’s a hearty laugh, a tender embrace, or a stolen glance, candid shots can capture the true essence of a person and tell a story with just one frame.
8. Shooting Landscapes and Nature: Finding the Perfect Composition
Ah, landscapes and nature—the perfect subjects for those who find solace in the great outdoors. But capturing their beauty in a photograph is no easy task. In this section, we’ll explore some tips and techniques that will help you find the perfect composition and bring out the best in your landscape and nature shots.
Rule of Thirds and Leading Lines: Framing Your Shot
Composition is key when it comes to landscape and nature photography. The rule of thirds and leading lines are two powerful tools that can guide you in creating visually pleasing compositions. Try placing your main subject off-center using the rule of thirds, or incorporate leading lines to draw the viewer’s eye into the frame. These techniques can add depth and interest to your photos, making them visually captivating.
Capturing the Beauty of Golden Hour and Blue Hour
Timing is everything when it comes to shooting landscapes and nature. Golden hour, the period shortly after sunrise or before sunset, bathes everything in a warm, golden light, creating a magical atmosphere. Blue hour, on the other hand, occurs just before sunrise or after sunset when the sky takes on a deep blue hue. These moments offer incredible opportunities to capture stunning colors and dramatic skies. So, set your alarm clock and embrace the magic of these enchanting hours.
Adding Depth and Interest with Foreground Elements
To create a sense of depth and add interest to your landscape shots, don’t forget about the foreground. Including foreground elements, such as rocks, flowers, or even a person
Conclusion
By incorporating these photography tips and tricks into your practice, you can elevate your skills and capture breathtaking images. Remember, photography is not just about technical knowledge, but also about creativity and experimentation. Keep practicing, keep exploring, and most importantly, enjoy the process of capturing beautiful moments through the lens of your camera. With dedication and passion, you can continue to improve and create images that truly speak to your artistic vision. Happy shooting!
FAQ
1. How can I improve my composition in photography?
Improving composition in photography involves understanding concepts such as the rule of thirds, leading lines, and framing. Experiment with different angles and perspectives to create visually interesting compositions. Additionally, pay attention to the balance, symmetry, and placement of subjects within the frame to create a pleasing composition.
2. What post-processing software do you recommend?
There are several post-processing software options available, each with its strengths. Adobe Lightroom and Adobe Photoshop are popular choices among photographers due to their powerful editing capabilities.
3. How can I achieve better lighting in my photographs?
To achieve better lighting in your photographs, consider utilizing natural light sources such as the sun during the golden hour or diffusing harsh light using reflectors or diffusers. Experiment with different lighting techniques, such as backlighting or side lighting, to create depth and dimension in your images. Additionally, learning how to use artificial lightings, such as speed lights or studio strobes, can provide more control over the lighting conditions in your photographs.
4. What are some recommended camera settings for capturing landscapes?
When capturing landscapes, use a small aperture (higher f-number) to increase the depth of field and ensure that the entire scene is in focus. Choose a low ISO setting to minimize noise and maintain image quality. Use a tripod to keep the camera stable and avoid camera shake. Experiment with different shutter speeds to capture motion in waterfalls or achieve long exposures for capturing movement in the sky. Finally, consider using the camera’s RAW format to retain maximum detail and flexibility in post-processing.
Thank you for reading 🙂