Say Goodbye to Blurry Images Forever: Foolproof Techniques
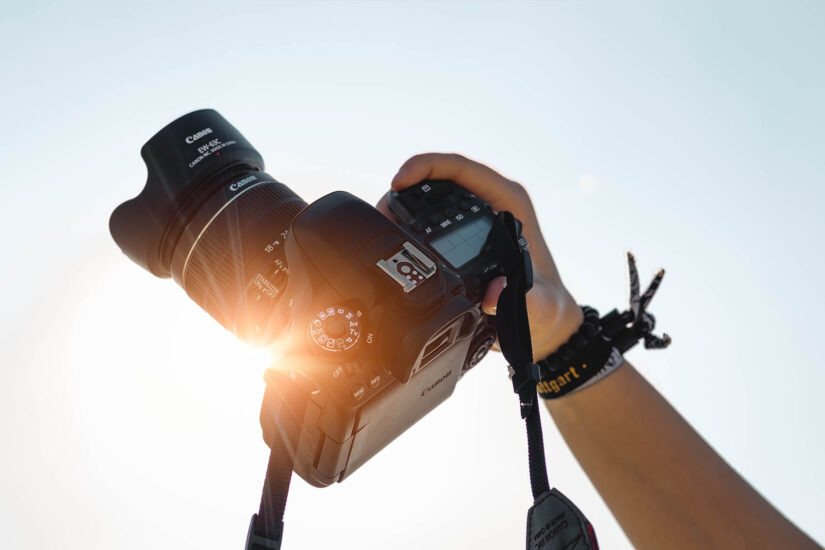
Say Goodbye to Blurry Images Forever: Foolproof Techniques
Sharp and crisp images are the hallmarks of great photography. Whether you are capturing breathtaking landscapes, candid portraits, or fast-paced action shots, achieving optimal sharpness is essential to make your images stand out. Say goodbye to blurry images forever as we delve into foolproof photography techniques that will revolutionize the way you approach capturing moments.
From understanding the basics of sharpness to mastering advanced techniques and utilizing stabilization devices, this article will equip you with the knowledge and skills needed to capture crystal-clear images every time. Get ready to elevate your photography game and unlock the secrets to achieving sharpness like never before.
1. Understanding the Basics of Sharpness in Photography
The Importance of Sharpness in Photography
Let’s face it: blurry photos are the worst. There’s nothing more disappointing than capturing a once-in-a-lifetime moment, only to have it ruined by a lack of sharpness. Sharpness is the key to bringing out the details and making your images look professional and eye-catching.
Factors Affecting Image Sharpness
Achieving sharpness in your photos isn’t just about having the latest and greatest camera. Several factors can affect the sharpness of your images, including:
– Aperture: The size of the aperture opening plays a significant role in determining the depth of field and the overall sharpness. Understanding how the aperture works and finding the sweet spot for your lens can greatly enhance the sharpness of your images.
– Shutter Speed: The faster the shutter speed, the less chance there is for motion blur. But be careful not to go too fast, as it can introduce a camera shake if you’re not holding the camera steady.
– ISO: Balancing sensitivity and noise is crucial in achieving sharpness. Using a higher ISO setting can increase your camera’s sensitivity to light, but it can also introduce noise into the image, affecting its overall sharpness.
– Focusing Techniques: Proper focusing is essential for sharp images. From manual focus to autofocus modes, understanding how to use your camera’s focusing system effectively can make a significant difference in the sharpness of your photos.
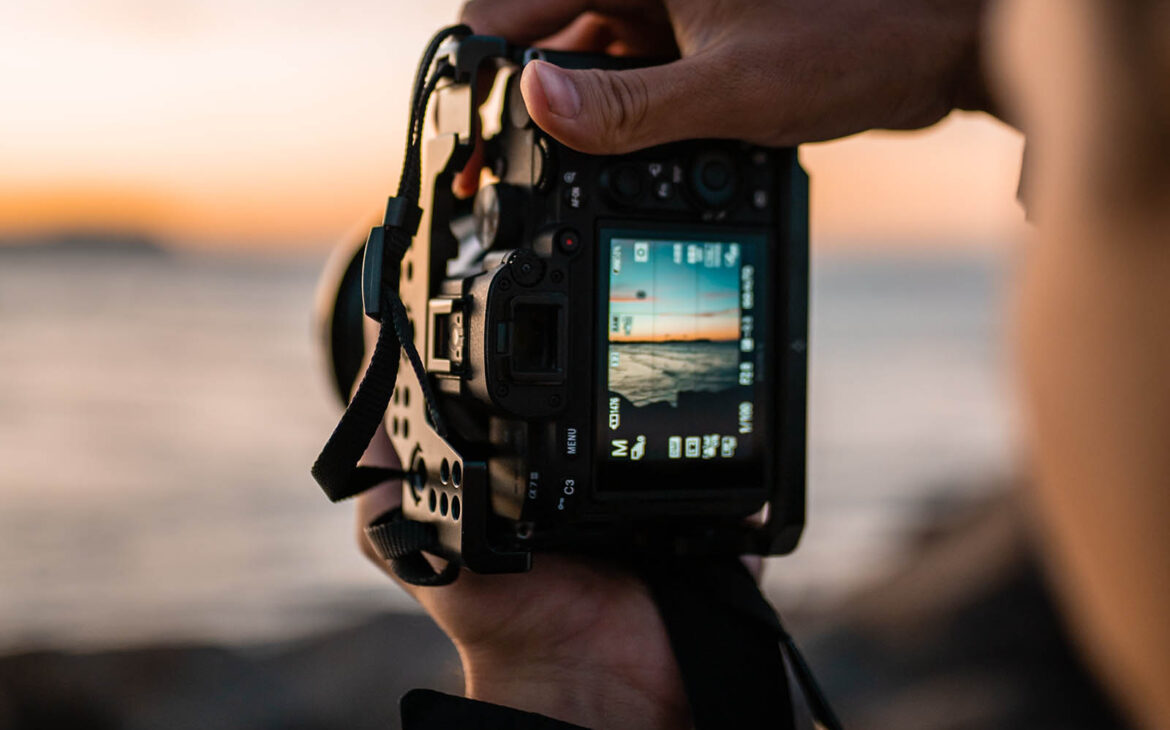
2. Choosing the Right Camera Settings for Crystal Clear Images
Understanding Aperture and Depth of Field
The aperture, also known as the f-stop, not only affects the amount of light entering your camera but also determines the depth of field. A smaller aperture (higher f-number) helps increase the depth of field, ensuring that a larger portion of your image stays sharp from front to back.
Shutter Speed: Freezing the Action
When it comes to capturing fast-moving subjects, using a fast shutter speed is crucial. A faster shutter speed freezes the action, preventing any motion blur from ruining the sharpness of your images.
ISO: Balancing Sensitivity and Noise
ISO controls your camera’s sensitivity to light. While higher ISO settings can be useful in low-light situations, they can introduce noise, leading to a loss of sharpness in your photos. Finding the right balance between sensitivity and noise is key to achieving crystal-clear images.
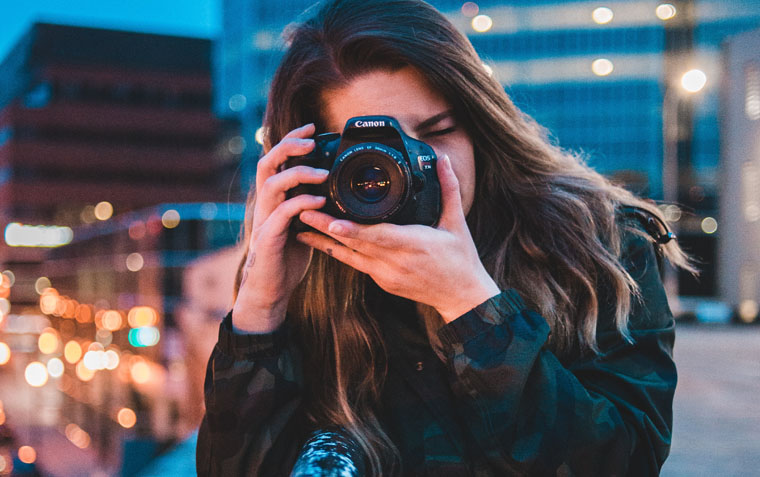
Focusing Techniques for Sharp Images
Whether you’re shooting portraits or landscapes, nailing the focus is essential for sharpness. Experiment with different focusing techniques, such as single-point autofocus or manual focus, to ensure that the subject you want to be sharp is in perfect focus.
3. Mastering the Art of Holding the Camera Steady
Proper Handholding Techniques
Camera shake is one of the leading causes of blurry images. Hold your camera with both hands, tuck in your elbows, and plant your feet firmly on the ground for added stability. This simple technique can make a world of difference in the sharpness of your photos.
Utilizing Image Stabilization Technology
Many cameras and lenses come equipped with image stabilization technology, which helps reduce camera shake. Make sure to turn on this feature when shooting handheld to improve the sharpness of your images.
Breathing Techniques for Steady Shots
Take a deep breath, exhale gently, and squeeze the shutter release button at the end of your breath to minimize any potential camera shake. It’s a small trick that can have a big impact on the sharpness of your photos.
4. Exploring Advanced Techniques for Achieving Sharpness
Hyperfocal Distance: Maximizing Depth of Field
Hyperfocal distance is a technique used to maximize the depth of field in your images, ensuring that both the foreground and background are sharp. By focusing at a particular distance, you can calculate the aperture and achieve maximum sharpness throughout the scene.
Focus Stacking: Combining Multiple Images for Increased Sharpness
For subjects that require extreme depth of field, focus stacking is a powerful technique. By capturing multiple images at different focal points and then blending them in post-processing, you can achieve sharpness from front to back, even in challenging situations.
Using ND Filters for Long Exposure Sharpness
Long-exposure photography can produce stunning effects, but it can also introduce motion blur due to the extended exposure time. Using ND (neutral density) filters allows you to use longer shutter speeds without overexposing your image, resulting in sharp and beautifully rendered long-exposure photographs.
With these foolproof techniques, you can bid farewell to blurry images forever. Remember, achieving sharpness is a combination of understanding the basics, mastering camera settings, holding your camera steady, and exploring advanced techniques. So, grab your camera, embrace these techniques, and get ready to capture razor-sharp moments that will make everyone say “wow”!
5. Utilizing Tripods and Stabilization Devices for Enhanced Clarity
Choosing the Right Tripod for Your Needs
A tripod can be your best friend when it comes to capturing sharp, clear images. Are you a landscape photographer who often works in challenging terrains? Then a sturdy and lightweight carbon fiber tripod might be your best bet. Are you more into portraiture or studio work? In that case, a heavy-duty tripod with adjustable height and a smooth pan-tilt head could be the way to go. Remember, the key is to find a tripod that suits your shooting style and provides stability for your camera
Tripod Techniques for Maximum Stability
Once you’ve got your tripod, it’s important to learn some techniques to maximize its stability. Start by extending the thickest leg sections first and keep the center column as short as possible to minimize vibrations. Make sure to secure the tripod’s legs firmly on the ground and avoid using flimsy extended legs if you can. For added stability, use a remote shutter release or a self-timer to prevent any contact with the camera during exposure. And if you’re shooting in windy conditions, hang a bag or attach weights to the tripod’s hook to reduce any potential wobbling.
Exploring Other Stabilization Devices
Tripods are not the only option for keeping your camera steady. There are plenty of other stabilization devices available, such as monopods, camera clamps, and gyroscopic stabilizers. Monopods can offer a good compromise between stability and mobility, making them ideal for sports photography or situations where a tripod is impractical.
Camera clamps can be useful when shooting at unconventional angles or attaching your camera to stationary objects. Gyroscopic stabilizers use advanced technology to counteract any camera movement, providing smooth and steady footage even when you’re on the move.
6. Post-Processing Tips and Tricks to Enhance Sharpness
Sharpening Techniques in Editing Software
Post-processing can work wonders in enhancing the sharpness of your images. Most editing software, like Adobe Photoshop or Lightroom, offer various sharpening tools that allow you to selectively sharpen different parts of your photo. Experiment with different sharpening algorithms and settings to find the right balance between enhancing details and avoiding unnatural artifacts. Remember, a little sharpening goes a long way, so don’t overdo it!
Localized Sharpening for Precise Results
Sometimes, you only need to sharpen specific areas of your image to make them pop. With localized sharpening tools, you can selectively sharpen certain regions or objects without affecting the rest of the photo. This technique is particularly useful when you want to enhance details in the eyes of a portrait or bring out intricate textures in a landscape. Just be mindful of not creating harsh transitions or halos around the sharpened areas, as that can give away your editing tricks.
Avoiding Oversharpening and Artifacts
While sharpening can be a great tool, it’s important to know when to stop. Oversharpening can introduce unwanted artifacts and make your image appear unnatural and grungy. To avoid this, zoom in on your photo at 100% and keep an eye on how the sharpening affects small details like fine lines or textures. It’s always better to err on the side of subtlety and maintain a balance between sharpness and the overall look of your image.
7. Overcoming Common Challenges and Pitfalls in Photography
Dealing with Low Light Conditions
Low light can be a nightmare for achieving sharp images, but there are ways to overcome this challenge. Increasing your ISO can help brighten up the scene, but be cautious as higher ISO values can introduce noise. Alternatively, using a wider aperture (lower f-stop value) can let more light into the camera, but keep in mind that this can also reduce the depth of field. Lastly, utilizing a tripod or stabilization device can reduce camera shake, allowing you to use slower shutter speeds without blurring the image.
Managing Motion Blur in Action Photography
Capturing fast-moving subjects can lead to motion blur if your shutter speed is too slow. To freeze the action, opt for a faster shutter speed, but remember that this might require a larger aperture or higher ISO in low-light situations. Keeping your camera’s burst mode on can also increase your chances of capturing a sharp image, especially when capturing quick movements. Additionally, using autofocus tracking modes and continuous shooting can help you maintain focus on the moving subject.
Avoiding Camera Shake and Vibration
Camera shake is a common culprit for blurry images, especially when shooting handheld. To minimize camera shake, practice proper handholding techniques like cradling the camera with both hands, tucking your elbows in, and keeping your body stable. Take a deep breath and gently squeeze the shutter button instead of jabbing at it. If you’re still struggling, consider using image stabilization (if available) or switching to a tripod or other stabilization device for added support.
With these foolproof techniques and tips in your arsenal, say goodbye to blurry images and hello to crisp and clear photographs. Don’t be afraid to experiment, practice, and find what works best for you. Remember, great images are just a steady hand and a click away!
8. Closing Thoughts
By implementing the foolproof photography techniques outlined in this article, you can bid farewell to blurry images forever. Understanding the basics of sharpness, choosing the right camera settings, and mastering stability techniques will drastically improve the clarity and impact of your photographs.
Additionally, exploring advanced techniques, utilizing stabilization devices, and employing post-processing tips will further enhance the sharpness and detail of your images. So, go out there with confidence, armed with these techniques, and capture moments that are sharp, clear, and breathtaking. Say goodbye to blurry images and embrace the world of sharp and striking photography!
Frequently Asked Questions
1. Why are my images often blurry?
Blurriness in images can result from various factors, such as camera shake, incorrect focusing, low shutter speed, or inadequate stabilization. Understanding these factors and implementing proper techniques can significantly reduce or eliminate blurriness in your photos.
2. Do I need expensive equipment to achieve sharp images?
No, you don’t necessarily need expensive equipment to achieve sharp images. While high-quality lenses and advanced camera bodies can enhance image sharpness, proper technique and understanding of the fundamentals play a crucial role. With the right knowledge and skill, you can capture sharp images even with entry-level equipment.
3. How can post-processing help improve image sharpness?
Post-processing techniques, such as sharpening tools in editing software, can enhance image sharpness. However, it’s important to use these tools judiciously to avoid introducing artifacts or excessive sharpening, which can degrade the overall quality of the image. Proper sharpening techniques can bring out fine details and improve overall clarity.
4. Are there any specific challenges to achieving sharpness in certain types of photography?
Yes, different types of photography may present specific challenges to achieving sharpness. For example, low light conditions can lead to increased noise and reduced sharpness, while action photography requires fast shutter speeds to freeze motion. Understanding these challenges and employing suitable techniques and equipment can help overcome such obstacles and achieve sharp results.
Thank you for reading 🙂